How to Make Your Makeup Look Flawless: Tips for a Perfect Face
Want to know the secret to flawless makeup? It’s all about prepping your skin and using the right application techniques. I’ve spent years perfecting my makeup routine and am excited to share my tips with you.
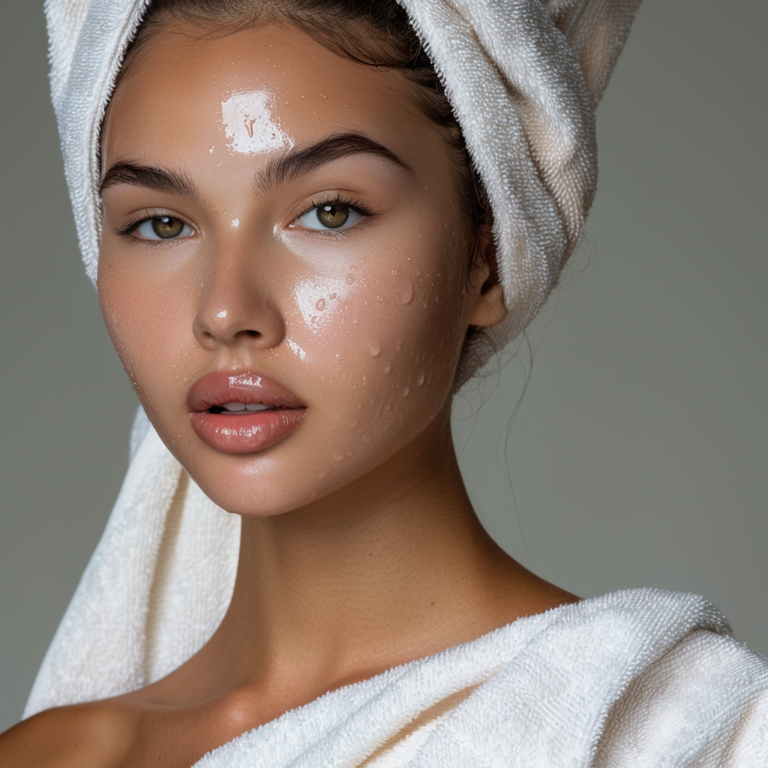
The key to flawless makeup is starting with a clean, moisturized face. I always wash and moisturize before applying any products. This gives me a smooth canvas and helps my makeup last longer.
After prepping my skin, I focus on creating an even base. I use liquid foundation and concealer to cover any blemishes or dark circles. Then I set everything with a light dusting of loose powder. This helps my makeup stay put all day long. With these simple steps, I’m well on my way to a flawless, lasting look.

Prepping Your Skin for Makeup
Getting your skin ready is key for flawless makeup. I’ll share my favorite tricks for prepping your canvas and making your look last all day.
Finding the Right Skin Care
I always start with a gentle cleanser matched to my skin type. For oily skin, I use a face wash with salicylic acid to control shine. If my skin is dry, I go for a creamy cleanser or cleansing oil like Anua.
Next, I swipe on toner to balance my skin’s pH. This step helps my other products work better.
Moisturizer is a must! I pick a lightweight one for the daytime. It keeps my skin hydrated without feeling greasy under makeup.
I never skip sunscreen. It protects my skin and helps my makeup go on smoother.
The Art of Priming
Primer is my secret weapon for flawless makeup. I choose one based on my main skin concern.
For large pores, I use a pore-filling primer. If I want extra glow, I pick an illuminating formula.
I apply primer after moisturizer but before foundation. A pea-sized amount is enough for my whole face.
I focus on my T-zone, where makeup tends to fade first. I pat it in gently with my fingers.
Some days, I mix a drop of primer with my foundation for an all-over smooth finish.
Applying the Basics for a Flawless Complexion
I’ve found that getting a flawless makeup look starts with nailing the basics. Let’s go through the key steps to create that perfect smooth base for your makeup.

Foundation Fundamentals
When I apply foundation, I always start with clean, moisturized skin. I pick a shade that matches my neck for the most natural look. Using a makeup sponge or makeup brushes, I dot the foundation on my forehead, cheeks, nose, and chin. Then I blend outward in gentle, circular motions.
For areas that need medium coverage, I build it up gradually. This avoids a cakey look. I make sure to blend down my neck and into my hairline too. No harsh or fine lines here!
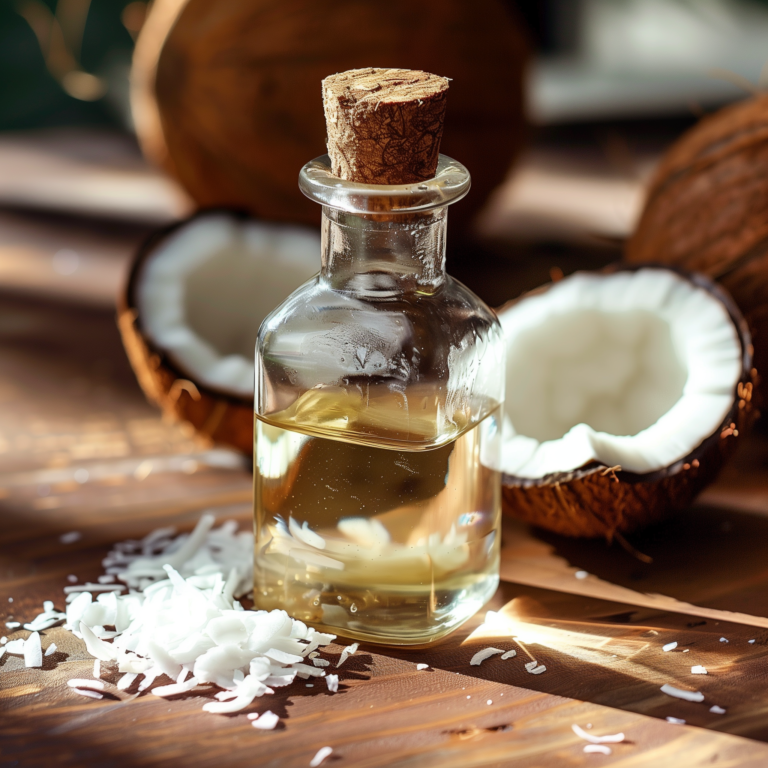
If I’m going for a dewy finish, I’ll mix a drop of facial oil with my foundation. For oilier skin, I opt for a matte formula instead.
Concealing Blemishes and Imperfections
After foundation, I tackle any spots or dark spots or circles with concealer. I use a shade slightly lighter than my skin tone for under-eyes. For blemishes, I match my skin exactly.
I dab liquid concealer on gently with a small brush or my ring finger. Patting motions work best – no rubbing! This helps the product stay put.
For stubborn dark circles, I’ll use a color corrector first. Peach tones cancel out blue-purple shadows. Then I layer concealer on top.
Setting Your Base
To make my base last all day, setting is key. I dust a translucent setting powder over my T-zone with a fluffy brush. This keeps shine at bay without looking heavy.
For extra staying power, I’ll use a setting spray. A few spritzes help melt all the layers together. It gives my skin a natural, non-powdery finish.
If I have dry skin, I’ll skip my powder formulas and just use spray. For oily spots, I might carry blotting papers for touch-ups later.
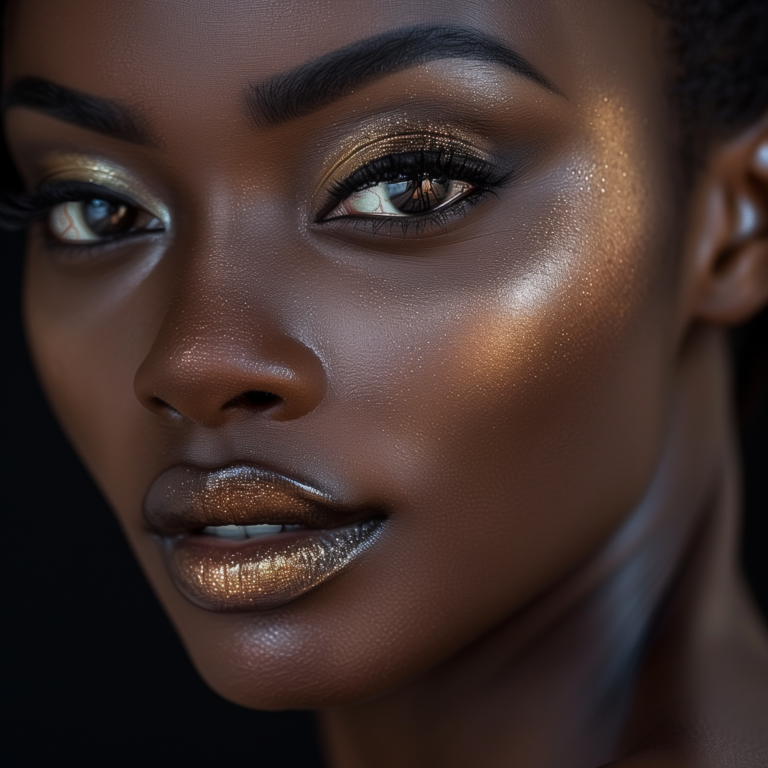
Enhancing Features with Color and Contour
Color and contour are key for making makeup look flawless. I’ll share some tricks to bring out your best features and create a polished overall look.
Contouring Basics
Contouring helps shape my face makeup and add depth. I start by finding the hollow of my cheeks. Then, I suck them in and apply a matte bronzer or contour powder just below my cheekbones. I blend it well – no harsh lines! For my nose, I use a thin brush to add contour along the sides. A bit under my jawline helps define it.
I like cream contour for a natural finish. It blends easily into my skin. The powder works great too, especially for oily skin. I always use a light hand and build up slowly. Too much contour can look muddy or harsh.
Blush and Highlight Techniques
Blush adds a healthy glow to my face. I smile and apply it to the apples of my cheeks. Then I blend up towards my temples. Cream blush gives a dewy finish that’s perfect for dry skin. Powder blush lasts longer on my oily areas.
For highlight, I focus on the high points of my face:
- Top of cheekbones
- Bridge of nose
- Center of forehead
- Cupid’s bow
A small amount goes a long way with highlights. I tap it on gently with my finger or a small brush.

Eye Makeup Essentials
Eyes can make or break a makeup look. I start with an eyeshadow primer to help colors pop and last all day. For every day, I use neutral shades in matte or light shimmer finishes.
I apply mascara last. Here’s my quick routine:
- Curl lashes
- Apply a thin coat of mascara
- Let it dry
- Add a second coat if needed
Eyeliner helps define my eyes. I like a thin line along my upper lashes. For drama, I do a small wing at the outer corners.
Lip Products and Makeup Application
Lips complete my makeup look. I always start with lip balm for smooth application. For bold lips, I use a lip liner all over to help lipstick last. I apply lipstick straight from the tube or with a brush for precision.
Gloss adds shine and makes lips look fuller. I dab a bit in the center of my bottom lip. For long-lasting color, I use a lip stain topped with clear lip gloss. For a matte finish, matte liquid lipsticks are great for all-day wear but can be drying. I make sure to exfoliate and moisturize my lips first.
Tools and Techniques for a Pro Touch
Getting that flawless makeup look is all about having the right tools and knowing how to use them. I’ve picked up some great tips from makeup artists that I’m excited to share with you.
Choosing the Right Makeup Tools
To start, I always make sure I have a good foundation brush. It helps me apply my base smoothly and evenly. I also love using a damp beauty sponge for blending. It gives me that airbrushed finish I’m after.
For eyes, I use a double-sided eyeshadow brush. One end is perfect for applying color, while the other helps me blend it out. I’ve found that having a separate concealer brush makes a big difference too.
Don’t forget about lash tools! A good eyelash curler can open up your eyes. And for perfect brows, a small angled brush and a good brow pencil are a must-have in my kit.
Mastering Makeup Techniques
Now, onto techniques. I always start with a primer. It creates a smooth canvas and helps my makeup last longer. When applying foundation, I use light, downward strokes with my brush. This helps avoid that cakey look.
For a flawless finish, I’ve learned to pat and roll my beauty sponge instead of wiping. It presses the product into my skin. With concealer, I apply it in a triangle shape under my eyes and blend outwards.
I love watching makeup artist tutorials for new blending techniques. One tip I picked up is to use a clean brush for blending eyeshadow. It helps create that soft, seamless look. And for lips, I use a lip brush for precise application.
Good
Thank you, Victoria!
Such an informative and well-written article!
I appreciate how this site shares such helpful insights.
Thanks for your feedback!